
There are some adorable American Girl dollhouses out there, but boy are they big! If you do not have the space for a big dollhouse, these foldable dollhouse backgrounds are a perfect space saving option. They easily fold up to fit under a couch or bed. Plus, they are super budget friendly! We spent about $15 making ours, so cheap that we are considering making more. Perhaps an outdoor scene would be fun too.

Let’s Get Started!
Here’s what you will need:
4-6 Foam Poster Boards (depending on the size you make your room, we used 6)
“Wallpaper” and “Flooring” to cover entire surface. (We used contact paper for lining drawers, other options could be scrapbook paper, or peel and stick wallpaper. If you choose to use scrapbook paper, Mod Podge over it for durability.)
White duck tape (other colors may work, but might show through your wallpaper)
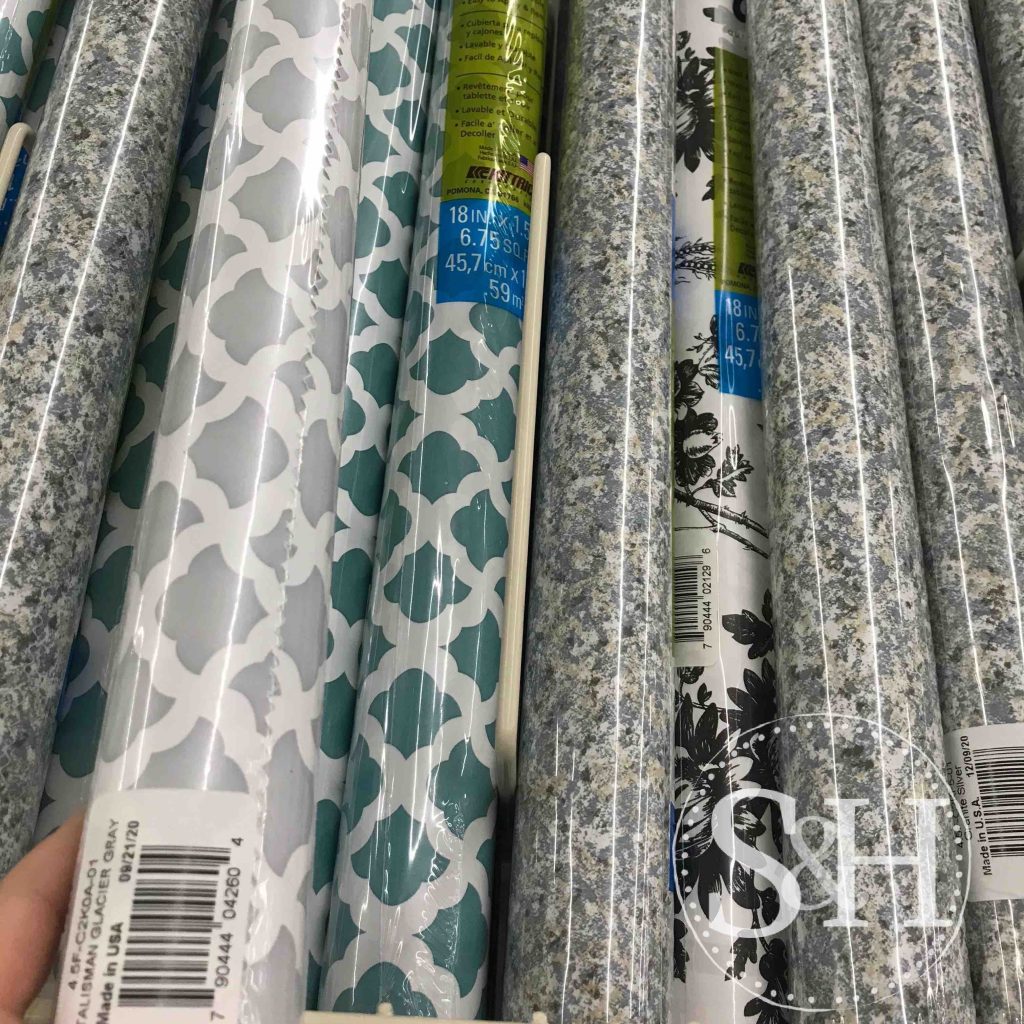
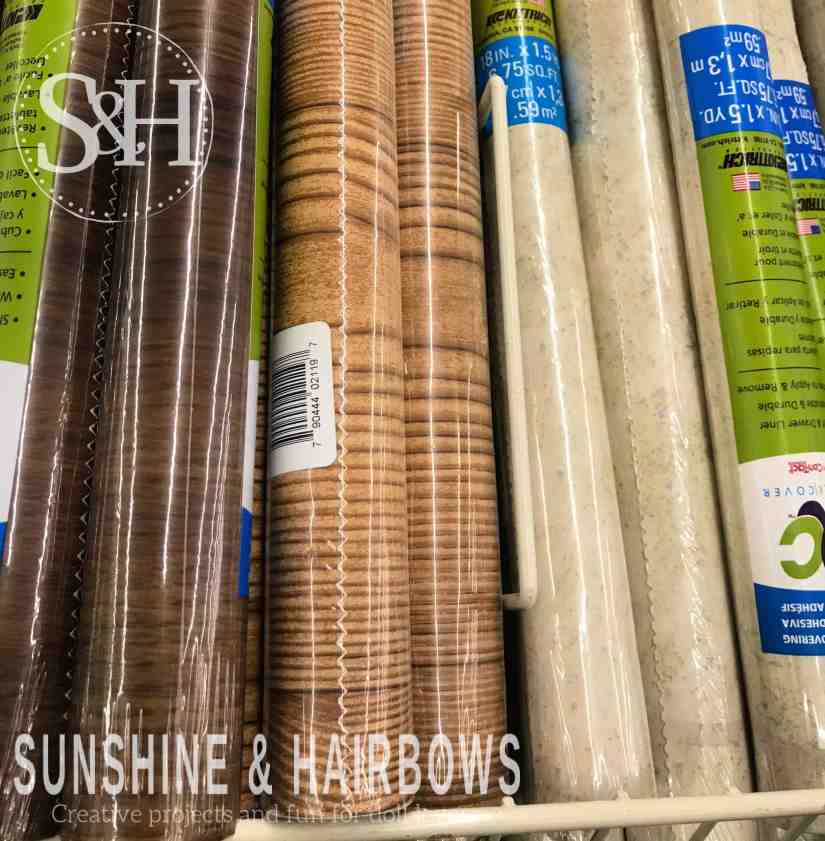
We were able to find almost all of our materials at the Dollar Tree, except for the Duck Tape and flooring. Dollar Tree did have wood grain textured contact paper, but it did not look like wood planks, I found one at Walmart that had more of the look I was going for. If you do not have a Dollar Tree nearby, here’s links for similar products on Amazon:


These varieties of contact paper were at the Dollar Tree the day we went. The black and white toile would be so cute in historical dollhouses! To cover our walls, we needed 5 of the Dollar Tree rolls and 1 for flooring.
Put Together Your Foldable Dollhouse
Make sure you are working in a large area, this project is going to take up quite a bit of space. For our dollhouse I wanted the walls to be tall enough so that the dolls could stand without the top edge showing and wide enough so that several dolls could fit in it along with furniture. Our foam board was 20″ wide, just barely tall enough width-wise, but the top edge would likely still show in photos. We decided to put the foam boards length-wise to have taller walls and a bigger area for the dolls. Our finished dollhouse measures 41″w x 30.5″h x 20″ d. When folded up it is 30.5″ X 20″ x 1.5″.
We had two pieces of foam board side by side for the back wall, and one foam board on each side of the dollhouse. The floor was made of two pieces cut down to be the same width as the walls.


Lay out your foam boards and decide how they are going to fold (if you are not making it the same size as we did). To fold ours, first we fold up the floor, then the walls fold up in an accordion style. Start taping your boards together, leaving space in between the boards so that they will be able to fold. If you tape them too tight, your dollhouse will not fold. I used glue sticks as my spacers between the boards to help keep the space even, they worked perfectly. If you are making our size of house, the middle seam on the back wall needs to be extra wide because it is going to fold over two layers of foam board. We left about 3/4″ of space between the back boards in the middle as we were taping up the seam and a little over 1/4″ between all other seams.

It does not really matter which pieces you start taping together first, just be sure to check that it folds as you go along. Tape together all of the walls and tape the floor only to the back wall. Tape the back and the front sides of each seam. Do NOT tape your floor to your side walls. Once you have all your walls and floor taped together, double check that it is all going to fold correctly. This is what ours looks like all taped together and set up.

Celebrate that you are done taping and prep yourself for wallpapering! Have you ever wallpapered before? It is not super fun, but I promise you will get through it and your house will be amazing!

Let’s start wallpapering! Luckily contact paper is pretty forgiving, when it goes awry, it can be pulled off so you can start again. I found that the best way to apply the paper was to have it rolled up and pull the backing out from underneath just a couple inches at a time and smooth as I went. I recommend aligning your wallpaper pattern then cutting the sheet several inches longer than what you need (maybe 3 inches on each side). This will allow you some wiggle room if you need to readjust the paper as well as wrap around the edges of your dollhouse, giving it some extra protection.
The contact paper pattern did not align perfectly from sheet to sheet. Don’t fret too much about this, just align it the best you can. You really do not notice it after it is all done. I ended up with several creases in the paper too, but they are not noticeable unless you are looking super closely.
Wallpaper all sides and the flooring, then double check that everything folds together okay. Hurray! You’ve finished and are ready to play!

My daughter went straight to setting up the house as soon as it was ready. She’s loving rearranging the furniture and letting the dolls play in their new space. We’ve also been able to use it for doll photoshoots. This project was well worth the time and money that we spent on it.


Wow this is a great idea and looks easy! I need to try this for my dolls!
LikeLiked by 1 person
We would love to know how yours turns out!
LikeLike